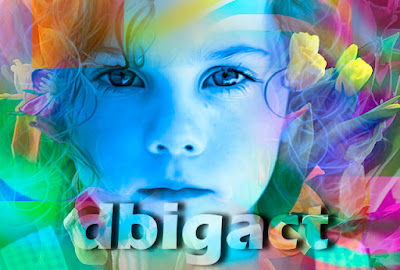
 I am sure you are familiar with blending the layers (using different blending modes). You can have wonderful effects using them. What exactly it does is at times confusing. I have tried to explain few of the options that we normally use. Yet what each mode is about will have to been seen in practice and differs from picture to picture.
The sliders in the Blending Options dialog box let you control which pixels from the active layer and which pixels from the underlying visible layers appear in the final image. For example, you can drop dark pixels out of the active layer or force bright pixels from the underlying layers to show through. You can also define a range of partially blended pixels to produce a smooth transition between blended and unblended areas.
Advanced blending options give you precise control over layer blending and allow you to create new and interesting effects.
Knockout effect
The Knockout option uses the pixels in the active layer to reveal pixels from other layers. A shallow knockout punches through to the next layer; a deep knockout punches through to the Background layer. (If you don’t have a Background layer, a deep knockout punches through to transparency.) You’ll see more of the underlying layer as you reduce the fill opacity of the knockout layer.
The Knockout option uses the pixels in the active layer to reveal pixels from other layers. A shallow knockout punches through to the next layer; a deep knockout punches through to the Background layer. (If you don’t have a Background layer, a deep knockout punches through to transparency.) You’ll see more of the underlying layer as you reduce the fill opacity of the knockout layer.
Basic terminology used for describing blending effects are:
Base color - this is the color that is already there. The one that you are going to paint over, onto, or add a layer on top of.
Blend color - the color you’re going to add with your paint tool, or which is already on the layer for which you are selecting a blend mode (the layer will be blending with the layers below it).Result color - what you get after you do some “blending.”
Normal - This is the default setting. The color applied is the color you get. In some of the color modes, this may be called Threshold.
Dissolve
It looks like what you see when a movie does a dissolve into a new scene; there are little speckles of the scene you’re leaving mixed with the just emerging colors of the new scene. Dissolve only affects partially transparent pixels.
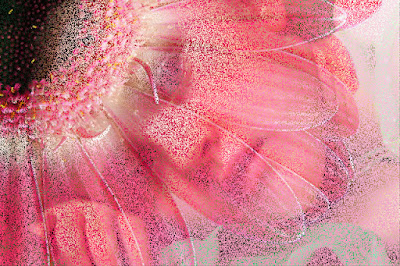
Darken
Looks at the two colors, the color already there, and the one you’re painting with, and chooses the darker one, whichever it is. No blending. Whichever is darker wins. Which of the two is used will vary across the image according to which is darker at each spot.
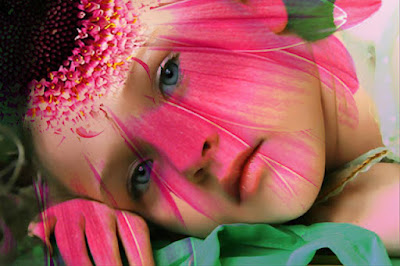 Multiply
Multiplies the base color with the blend color. Clearly the resulting color will be darker. It almost have the effect of one picture getting printed over the other.
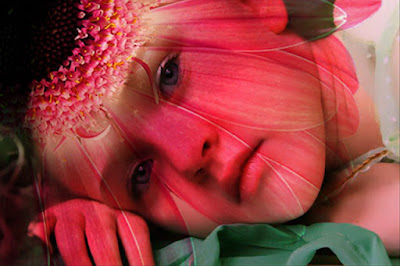
Colour Burn
Supposed to be the opposite of Color Dodge. What it looks like is, the color applied to light areas is unchanged by the underlying colors, while color applied to darker areas is dramatically darkened.
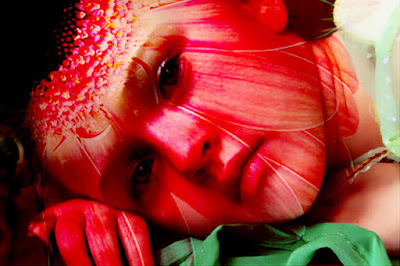
Linear Burn
Uses the color data from each channel,“darkens the base color to reflect the blend color by decreasing the brightness”
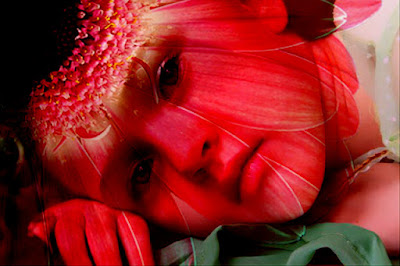
Lighten
Reverse of the above. As the new color is applied, if it’s lighter than the color already there, it replaces that color. If it’s darker than the color that’s already there, it is not added.
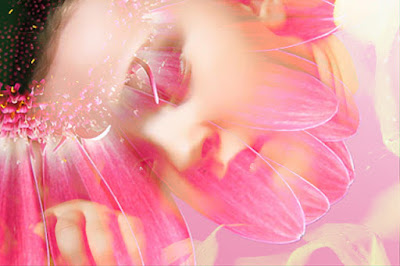
Screen
It is making the light parts a lot lighter, the dark parts a little bit lighter, leaves the black parts unchanged, and nothing gets any darker.
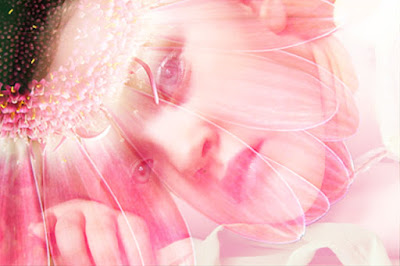
Colour Dodge
It looks like the color applied to light areas is bright, but pale, and the color applied to dark areas is barely visible.
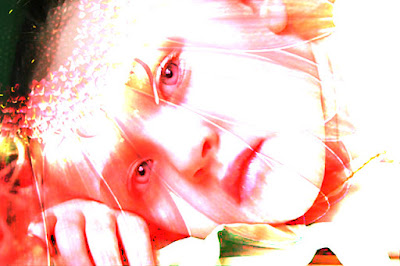
Linear Dodge
The inverse of Linear Burn. Uses the color information from each channel to brighten the base color according to the blend color.
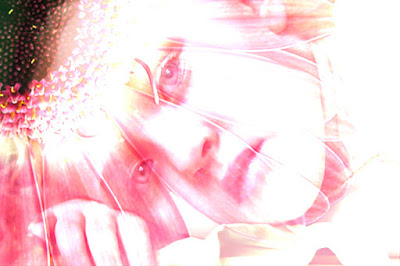
Over lay
Multiplies (darkens), or screens (lightens) the colors depending on the base color. Totally unpredictable; try it and see if you like it.
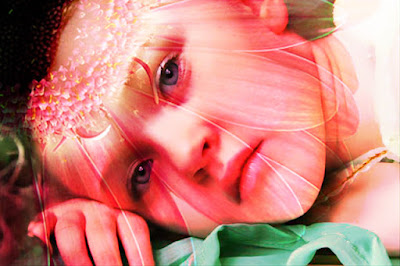
Soft light
If the color being applied is lighter than mid-gray, the image is lightened. If the color being applied is darker than middle gray, the image is darkened.


2 comments:
Thanks a lot for this very useful information
Jills Jose
Welcome Jills
Post a Comment